I LOVE Christmas.
It’s my favourite time of year because I adore the traditions that surround my family at this time of year.
Both A.J and my parents are divorced and re-married. So we are blessed with four sets of Christmas days and events. Our family is such a mix from crazy Italians to peaceful foodies and just about everything in between that we end up eating, playing and relaxing with people who are bound by family and love for a good two weeks over the Christmas period.
Of course we do love the pressie time though. I love seeing the gifts under the tree all piled up and watching the kids eye off the big ones (I like the little ones) to see what new thing they will be racing around the street on this year. I still don’t understand how those razor things work. I love that even thought my Nonno passed a few years ago there is still always a gift for my Nonna under the tree from ‘Santa’ just like when he was still here. For that matter, I love that Mum insists Santa still exists regardless of our ages.
Last year Amy and I decided that instead of buying gifts in a last minute rush around the stores, spending way too much money and stressing over each little purchase we would make our gifts instead. It was a huge success and therefore this year we are doing it all again, this year adding Dee as well.
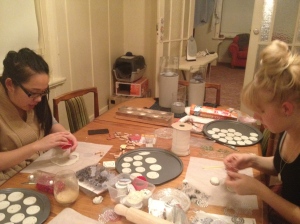
To be honest, it’s a great excuse for us to get together and have a chin wag and get in an evening of crafting. We have a little plan of what we are making and have done a huge opp shop run for supplies. We like to re-use as much as we can, taking something old into something lovely and hand-made if we can but also use new materials as well.
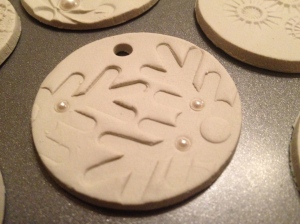
Our first mission was gift tags. We had a lot of success last year with clay tags that double as a tree ornament so this was night one of crafting.
To make clay ornament tags you don’t need much AND it’s really fun – we could just relax and have a drink gossip because it’s not exactly the most taxing of tasks.
We found the original idea on pinterest (check out our page for the link)
You will need:
Air dry clay – we use air dry white sculpy which works a treat
Rolling pin
Round cookie cutter (many/any sizes)
Something to make impressions in the clay- we uses wooden embellishments, lace, doilies and stamps
Decorations- these are optional- we used some pearl stickies and also some glittery bits
Air dry glaze
A straw
Step one.
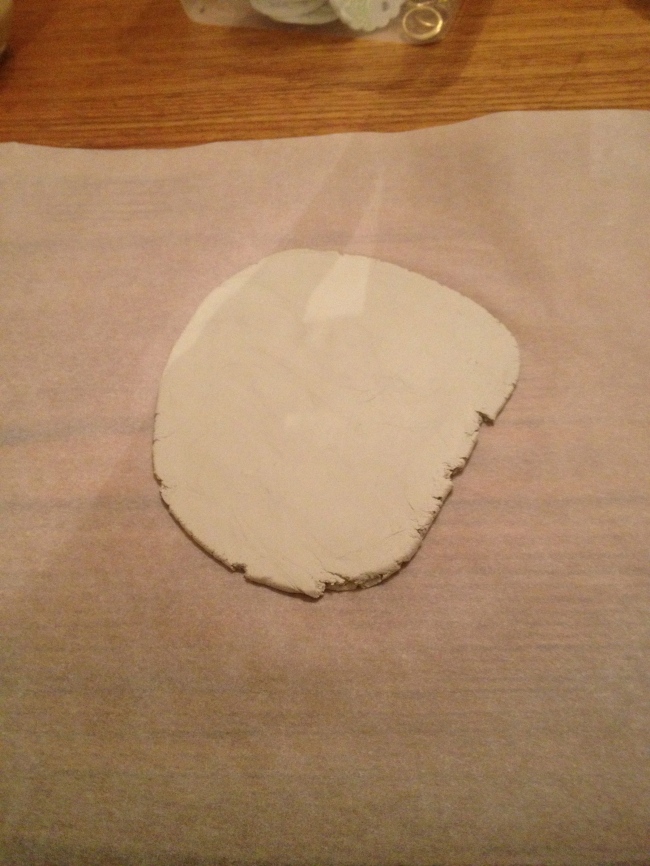
Cut a smallish piece of clay and roll it out. You want it thick enough that it won’t buckle and thin enough so it won’t be too heavy. Without being too particular ¼ inch is good.
Step 2
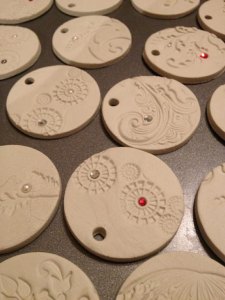
Once you it nice and smooth make an impression into the clay with whatever you want to use. You want to make it reasonably deep so you get the pattern but don’t want to break through the clay.
Step 3
Take your cookie cutter and cut a circle around you impression. You can use the whole imprint of only half! It’s really up to what you like.
Step 4
Use the end of a straw to cut a nice neat whole in the top of your clay ornament. This gives you something to string it up with.
Step 5
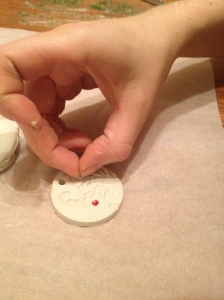
Decorate! We popped beads etc in this year but you can use anything you fancy
Step 6
Let dry. We put all of ours onto trays and leave them in Amy’s spare bedroom. It’s nice and cold in there and they lighten to a really lovely white.
Step 7
You can do two things here- just glaze them and let them dry OR you can do what we did last year and crack out the paint and give them all a coat of colour or a burst here and there, let them dry and then glaze.
Write on the back when it’s time to gift, tie onto your pressie and away you go. TOO easy.
Ours are all drying still at Amy’s but we will have a glaze in a couple of weeks and then post some more pictures of the finals. It’s such a nice way to tag your pressies – even cuter is Amy writing the year on the back so each year the giftee receives a hand-made ornament and builds a little collection. I’m not that cute and didn’t think of that… but may steal her idea this year mwahahaa.
Lia xo

been following you lovely ladies since you started. through the place i work at. finally u got a web page. LOVING IT…. will be a regular well done ladies. mel on pako.
Thank you for your kind words Mel 🙂 Dee
Pingback: When the glitter settles… |